
How-to: Determine Toyota Maximum Engine Speed History (RPM) with Techstream software.
Disclaimer:
It is not our work. Credit to Pyrenees from GT86 forum.
Background:
A member drives a 2023 Toyota 86 6MT, ~15k miles. Toyota mechanic has pulled the code x1002 and x1001 from the ECU and these codes indicate and “over-rev”. They cannot or will not explain what that means and if it is the policy for those codes to void the engine. Toyota denying warranty claim due to supposed abuse and the x1001 and x1002 codes being given as “over-rev”
It seems like this means they are accusing me of “money shifting” the car and destroying the engine, which violates the abuse clause in the GR86 warranty.
Purpose:
You can access x1001 and x1002 VCH/RoB codes as well as a bunch of other misc data from your GT86 with Techstream. Share it here in case people wanted to check their own cars.
Techstream Version & Installation
He used to utilize Techstream v14 for Toyota Sienna and LX470, but it was simply too old a version for the 2022/2023 GR86, so he would like v18 software for personal use and set it up.
He successfully installed Techstream v18.00.008 on an old Thinkpad with Windows 7 Pro after spending a ton of time on it.
The main thing to consider is that the drivers for Techsteam J2534 cable (Mini VCI cable, vxdiag vcx nano for Toyota, Xhorse MVCI pro etc) the interface between your OBDII port and the USB port on your laptop) are 32-BIT.
So this means that your best bet is to use a 32-BIT version of Windows, which is NOT common. Most Windows versions are 64-bit unless it’s for a particular reason like this. Anyway, you need to have patience and at least some level of technical skill to get it installed.
Once Techstream is installed, connect the cable to the OBDII port and the USB port on your laptop. You might get a “cannot connect to VIM” error or something like that when use the mini vci cable. That usually means your USB port setup or Mini-VCI driver isn’t working. Keep one other thing in mind, when you install the Mini-VCI cable driver, MAKE SURE the USB cable is plugged in during that process, not after.
How to Determine RPM?
x1001 and x1002 are individual codes, the first is Maximum Vehicle Speed and the second is Maximum Engine Speed. x1001 shouldn’t mean a thing warranty-wise. x1002 is the one that they are looking for.
In Techstream, when the main page loads there will be a row of tabs across the top, System Select is the primary tab. Initially, you have to click on all of the individual ECUs to access them (you can run the health check to do this as well). Unless you are making active changes, poking around is unlikely to cause a problem.
If you’re looking for the supposed engine over-rev codes, click on the Engine Control System ECU. You can see live data there. Go to the “stored data” tab across the top, and there will be an option for the VCH (vehicle control history) and RoB (records of behavior). You’ll have to shut the engine off and put it back in ignition mode (2nd position/press), and then it will pull the data. You can also pull Health Check data in a similar way, but I found the screenshots to be more helpful than the exported CSV file, which was awkward to navigate though.
Without further ado, this is what the sanitized x1001 and x1002 data looks like from a 2022 GT86. screenshots are attached:

Engine Control System

Vch Rob

Max Engine Speed

Max Vehicle Speed

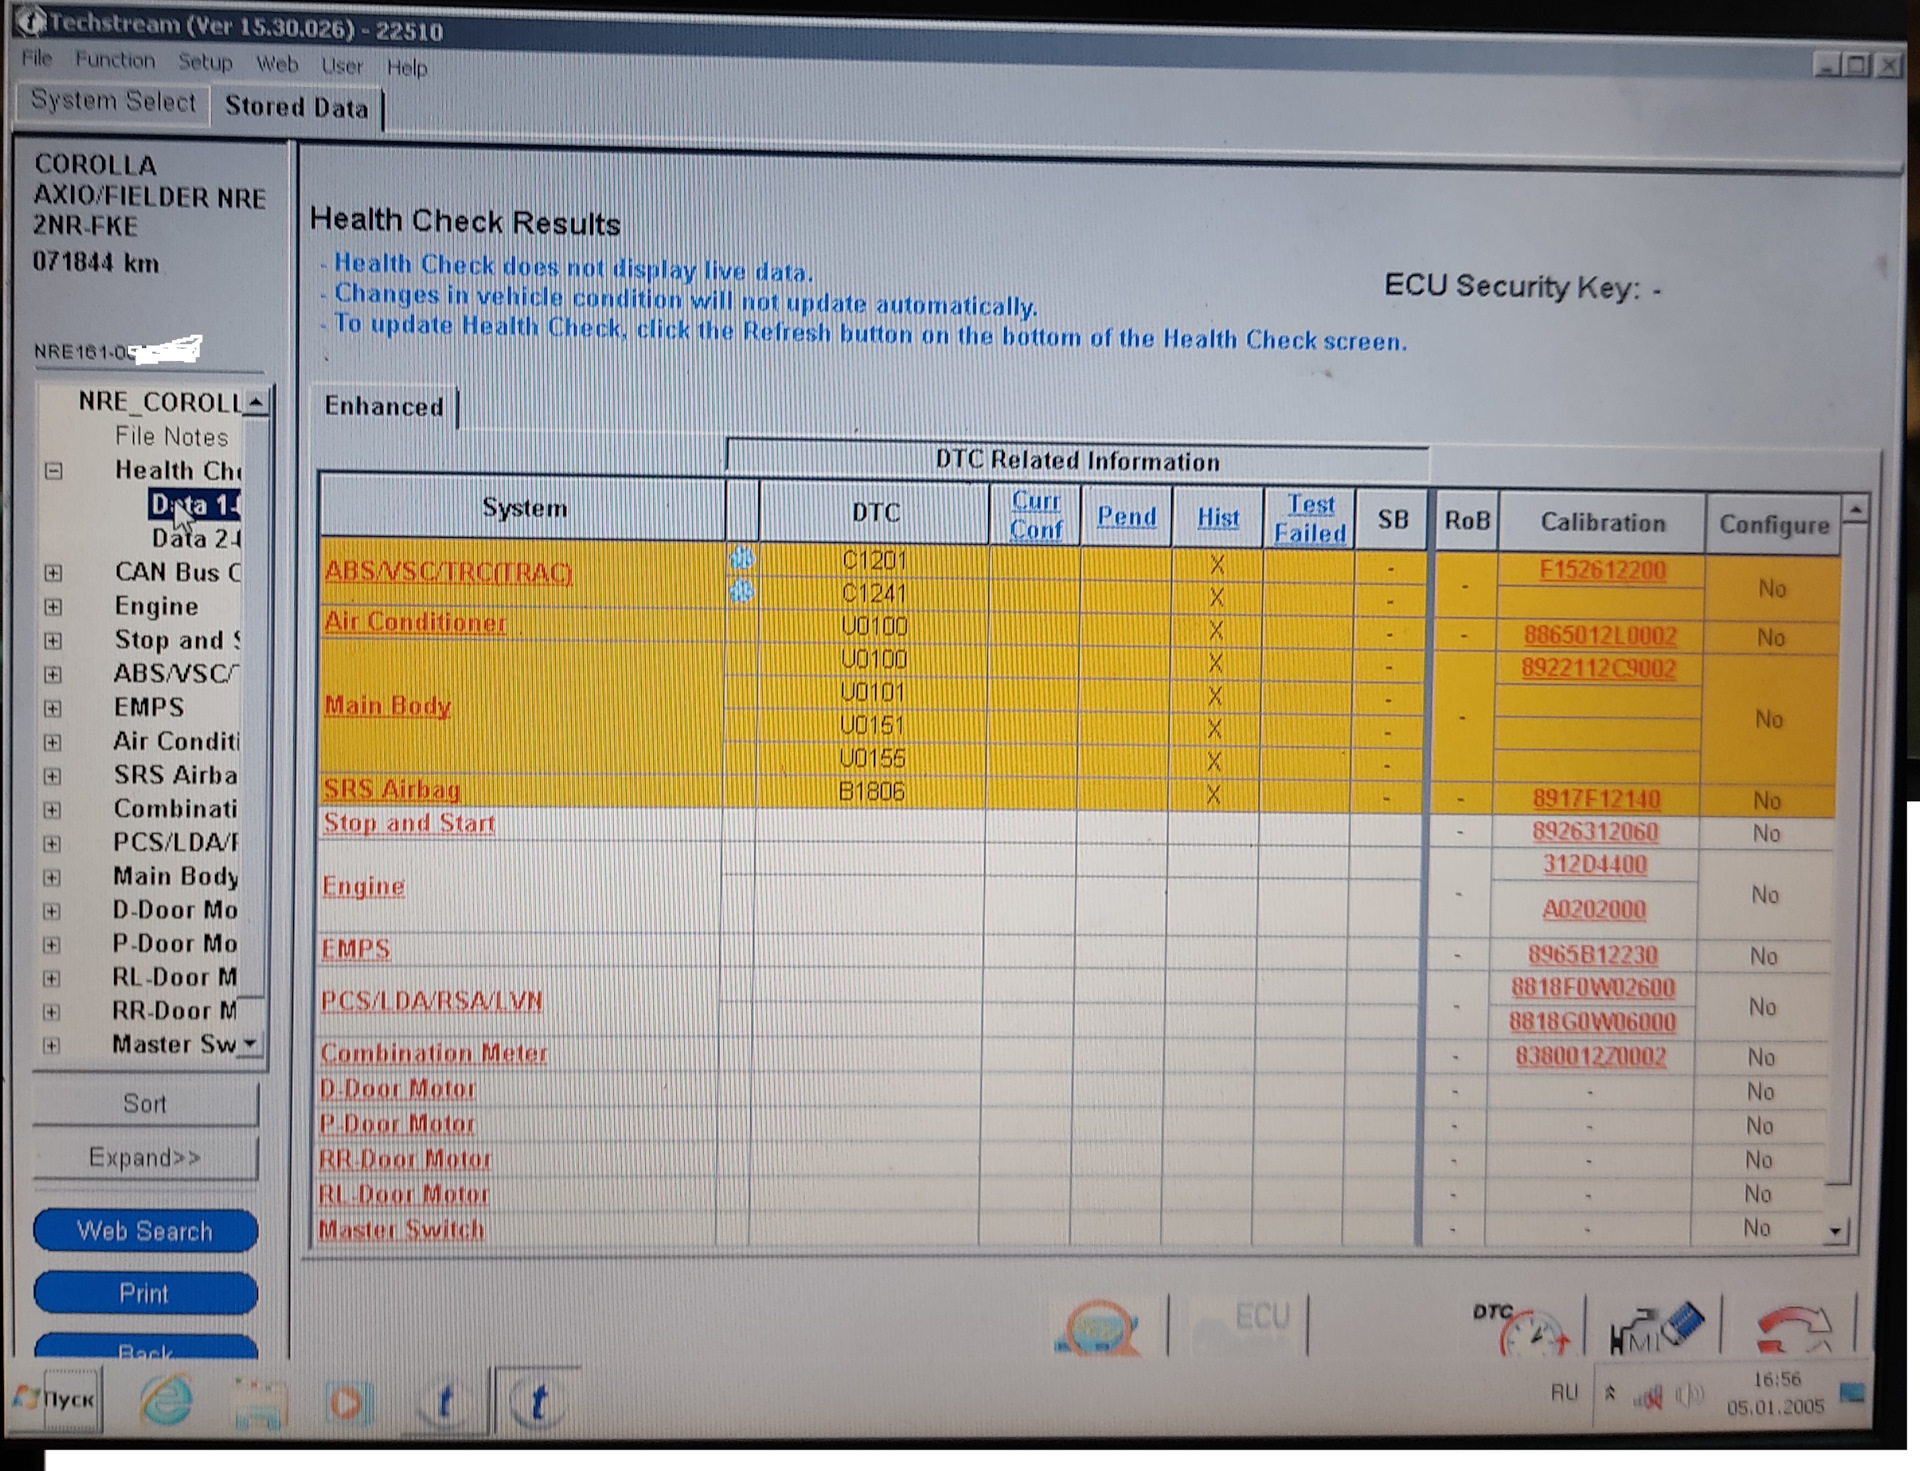
Health Check
It’s actually rather informative. It keeps the last four “highest” values with other data like odometer value. -3 is the oldest data column, 0 is the most recent. This seems to correlate with the elapsed time. Clutch switch “on” means the clutch is depressed (and if you think about how the clutch has to be depressed to start the car, this also makes sense). Current key cycle at the top, but the key cycle within the data was the key cycle where the data snapshot was collected. Then there’s a whole health check page you can poke around on.
Hope it helps.


